Transformers Generations Motormaster custom trailer!

When the Combiner Wars series of toys really got going, and they came out with Motormaster, we had to have it to complete the set. The toy itself is pretty good, with great detail and range of motion.

However, compared to the G1 figure there was a glaring omission. The new figure had no trailer.

The transformation of the G1 figure was surprisingly complex, with the trailer being a direct part of the robot mode. In the case of the Combiner Wars version, there was already an Ultra Magnus in production that used a similar mold to Motormaster, and it was hard to imagine a way to take this mold and integrate a trailer similar to the way the G1 toy worked.

I previously owned a G2 Optimus Prime based “Black Convoy” or “Scourge” figure, and I thought the alt mode for the trailer was interesting. I liked the idea of a tanker truck in general. So, the challenge became to come up with a trailer Motormaster could pull that transformed into an interesting missile launch base.

My printer bed has a footprint of 8″ wide by 10″ long. In order to keep the production simple, I decided the trailer could only be about 9″ long. The trailer is a bit under-scale compared to the figure, but it was at the upper limit of what I thought I reasonably had time to build.

Another requirement I placed on the design was that I wanted Motormaster or another Stunticon to be able to drive up into the base mode of the trailer.

Stepping through the transformation, the carriage for the wheels flips out from under the main tanker, which opens up along two fill length hinges.

The main missile is set into place by the robotic arm:

The smaller missile launchers on their own articulated arms fold out of the base:

The access ramps fold down, which are spaced for the figures wheels:

Motormaster pulled all the way into position:

Another Decepticon in the main bay:

Magnets hold the launch area shut in alt mode.

None of these series of figures was really designed with pulling a trailer in mind. The snap fit which holds the legs together is not strong enough to deal with any real pulling of the trailer. This figure needs a reinforcing clip that holds the legs together more tightly.

I would also like to come up with a license plate for the trailer, similar to the G1 toy.

Overall, this was a fun project. If I were to revisit it, I would probably go ahead and make the whole thing larger to improve the scale appearance. I’d also relocate the smaller fuel tanks to the underside of the trailer in the alt mode(their location on top of the tanker was a request from my son, who at the time was quite young). He has pretty well grown out of these toys now, perhaps I could steal this back from him and give it a proper paint job?

G1 Omega Supreme, the definitive repair guide Part 4 of 5 — The “shields” or leg clips

Each Omega Supreme toy came with a small parts tree of 6 bright yellow “shields” which hold together the halves of the two pieces of leg armor on the toy. These clips were easy to loose, and indeed fetch a princely sum on eBay today. The geometry of the clips is a little more complicated than a person would want to make by hand. These are a prime candidate for 3D printing.

Do, I measured these, did a few test prints/fit checks with my home printer, and then ordered a set from ShapeWays.

I offer them two different ways on my store. The first is a tree with all 6 shields:

http://shpws.me/NZs0

The second is a tree with the 4 small clips that go on the back sides of the legs. These were certainly the most frequently lost:

http://shpws.me/Oxw5

These offer a quick and easy way to complete your figure. The only thing I don’t like about the ShapeWays parts is that when you have them made in a color, it is just a paint. So, when you cut the sprues that hold the parts together, there are white spots left.

G1 Omega Supreme, the definitive repair guide Part 3 of 5 — The walking drums —

Far and away, the most frequently broken parts on an Omega Supreme toy are the drums that drive the walking mechanism. The plastic is a little too thin and brittle, and if the release levers aren’t used correctly it is easy to put way too much force into them in shear when transforming the toy.

This is a shot of the repaired walking drive assembly back in the toy. In the foreground, you can see the pile of broken bits that was left of the old drums.

I measured these parts and have made a parts tree that is on my ShapeWays store. I sell a tree to replace a single drum or a tree to replace both drums. http://shpws.me/RLtL

http://shpws.me/RLtF

The parts tree provides replacement plastics for the Drum, the Pin, and the drive housing. Most broken Omega Supreme toys I’ve seen still have the screw, spring, and original pin still captured in the drum. If they are there, great! You can reuse them.

If they are missing, I found suitable replacement parts from McMaster Carr. I really like McMaster Carr. The link for the spring is: https://www.mcmaster.com/9657k601 and the link for the screws is: https://www.mcmaster.com/90380a005.

So, even if your drums are completely wrecked, you can order the printed parts from ShapeWays and the hardware from McMaster and replace them.

Typically, if the original pin is still present, I reuse it instead of the 3D printed pin. The original pin has a smoother surface, and I suspect performs a little better.

Rebuilding the drum is straightforward. Put the pin through the hole in the drum that it fits through (from the inside). Put the spring behind it. Push the drive housing on, and run in the screw. In this picture below, I’m reusing everything except the drive housing. The pin is already in place and the spring is sitting on top.

The drums are just a slip fit onto the square shaft, and are essentially free to fall off until the rest of the toy is reassembled. When putting the driveshaft back together, remember to align the pins 180 degrees away from each other. Otherwise your Omega wont walk, he will just sort of sway.

Halfway done, the other drive housing is badly cracked.

When fiddling with this, there is a metal counterweight piece that tends to just fall out of the toy. It may not be obvious where it came from or how it goes back in. Below is a reference picture.

When putting the shaft back in, make sure the cam that pushes on the metal tabs for the light lines up correctly. Also make sure the gear is making good contact with the driving gear. It is just a press fit on the square shaft, and its position may need adjusted slightly.

From here, just reassemble the toy and you should have a fully functioning Omega Supreme again!

G1 Omega Supreme, the definitive repair guide Part 2 of 5 – The ON/OFF switch

If your Omega Supreme is still completely not working (no noise/motion/lights/nothing) and the battery connections check out okay with a multi-meter, the next most likely culprit is the on/off switch itself.

From the outside of the toy, the on/off switch looks like a “real” switch. However, when you open it up, you realize it is pretty cheesy. Disassembling the upper part of the toy to get to the switch is a little difficult. There are many small pieces to keep track of, and getting them all aligned again is a little tricky. Pay attention as you take it apart, and take your time. From what I can tell, the parts really all only go together one way.

First, you must pop off the face cover. Some of these are tighter than others. I used a plastic “spoon” on this one, however a screw driver could be used. Just be careful and avoid scratching the plastic.

Next, remove the screw holding the two halves of the head together.

The small bulb in the middle is the light that lights up in the face. The white ring with the lobes is the track that makes the red canon go up and down as the head rotates. Remove this ring, as well as the lower half of the head. You can not separate the two halves of the lower compartment without removing the head.

There are two screws that hold the lower compartment together (I failed to get pictures of them. Once once you remove them, the compartment will split.

All of the wiring will stay with one half of the housing. All of the gears will stay in the other.

This is a useful reference picture of how the gears should all sit relative to each other.

The red and green wires appear to just be soldered to brass rivets through a piece of stiff cardboard.

To disassemble the switch, you’ll have to bend all 4 tabs back to a straight position and slide the sheetmetal housing out of the cardboard slots.

The red plastic switch slider holds a small folded piece of brass. If the toy has sat for a very long time, corrosion builds up on the rivets and the brass slider. A light sanding with fine sand paper will easily bring both back to a shine. This should be enough to fix the contact issue.

You can reassemble the switch, and use a multi-meter to check continuity through the green and yellow wires.

The tabs and slots of the switch housing are not all the same length, so the switch itself will only reassemble one way.

Putting all of this back together can be a little awkward. The large red “chest” piece or “neck cover” that is spring loaded can be a bit tough. Just be patient. The best way I have found to do this is to lay the half with the gears in it flat on the work bench, and bring the half with the wiring in it down from above. You will have t pinch that large red piece to keep it in position and line up the other side for reassembly. It may take a few tries, but isn’t too bad.

G1 Omega Supreme, the definitive repair guide Post 1 of 5

G1 Omega Supreme is an iconic 80’s toy. It really is a marvel of engineering. It is as if someone took a kinematics textbook and decided to make a toy that used as many concepts as possible from the book in one toy. However, cost pressures being what they are, the quality of the materials used in the construction of these toys is questionable at best. There are many more broken and/or incomplete Omega Supreme figures out there than there are complete working examples, which is a shame.

The most common root causes of a broken Omega Supreme are:

  • Corrosion on the battery terminals
  • Bad contact in the on/off switch
  • Broken “hubs” in the walking mechanism
  • Missing “shields” which hold the legs together

I’ve come up with solutions for all of these items, and my intent over a few posts is to share what I’ve learned. The first step to repairing your Omega Supreme is usually disassembling the tank and checking out the battery tabs. In this example, the corrosion was visible from the outside of the toy (looking into the open battery box).

To compete this repair, you will need a small Phillips head screw driver, a multi-meter, and a soldering iron (with supplies). Let’s start with disassembly.

First, you will need to remove these two screws from both sides, and set aside the yellow covers.

Then, remove the four screws in the bottom of the tank.

With those screws out, it should be easy to separate the top cover assembly of the tank from the remainder. This top cover assembly contains the battery box.

This view is from inside the top cover assembly, and the picture was taken after my repair. You can clearly see the rivets in these two battery contacts. In this case, the one on the right was corroded, and no contact was being made from the brass outer tabe to the copper inner tab.

To resolve this, I simply soldered a piece of wire between the brass piece and the copper piece. This was enough to regain contact for the batteries.

Once you are done soldering, recheck continuity with the multi-meter to ensure the repair is sound. You can also pop batteries into the holder and measure for voltage on the inside tabs to verify the repair. Re-assemble the tank, and the repair is complete.

Vehicle Voltron Fist – Complete

Well, it took me two iterations with Shapeways, but I finally got the part to fit just right!

On the first pass, I printed the fist as a solid, using the same models I had printed on my FDM printer.  The Shapeways fist is much more solid, and the printed fist was much heavier than the original.  It didn’t fire very well from the spring loaded launcher.

So, I broke the model up into three parts, and shelled out most of the material.

This didn’t change the cost much, due to the way Shapeways calculates things, but the finished fist is within about 1 gram of an original fist.

The fits are all “size on size” so some filing is required to get them together.

Here are some assembly shots:


And finally a happy Voltron!


Of course, the bright white fist doesn’t look right, so I went about painting it.  I just used Vallejo Acrylic model paint and hand brushed it on.  I put on 3 layers of primer, and attempted some sanding (this didn’t really work, which is a well known issue with SLS Nylon parts).  I then applied two coats of black paint, then did a little masking to put on the red stripe.

I left the part that inserts into the arm unpainted, as I was worried about interfering with the fit or bits of paint rubbing off and gumming up the mechanism.


That is Voltron’s happy face, trust me.

If you need a replacement part like this one, here is the Shapeways link:

https://www.shapeways.com/product/SDZS9S2JU/replacement-fist-for-vehicle-force-voltron?optionId=125379915

Vehicle Voltron – Replacement Fist Part 2

My method for these is pretty simple. I just sit down with a pair of calipers and a pencil and paper and make some sketches and take a bunch of measurements.

From there, I model the geometry in Alibre Design. The part that interfaces with the firing mechanism is going to be a bit touchy. So, I broke the model into two parts. This allows me to print the fist in an optimal orientation in the FDM printer and this critical part in its optimal orientation as well. This also makes iterating quicker, as I don’t have to print the whole fist each time.

After a couple of iterations, and a little bit of work with the file, I have a replacement fist that fits and fires similar to the original!

Vehicle Voltron – Replacement Fist Project

Here’s a toy you don’t come across very often. This is a 1982 Matchbox “Vehicle Force Voltron”

I stumbled across this while going through everything in a move. Overall, the figure is in okay shape and is nearly complete. He is missing a fist, and the propellers are damaged, but present. The damage to the propellers is pretty common in played with examples of this toy.

The fists are of course interchangeable, and I was able to confirm the firing mechanism of both arms is still functional.

The opening in the hand for holding an accessory has a bit of an odd shape. The U.S. version of this toy did not come with a sword.

Alternate Roller for Transformers Optimus Prime

This was a fun and relatively quick project.  This odd incarnation of Roller appears on screen for about 2.5 seconds in an early Transformers G1 episode.  I took a picture of the TV and set about modeling a version of it.

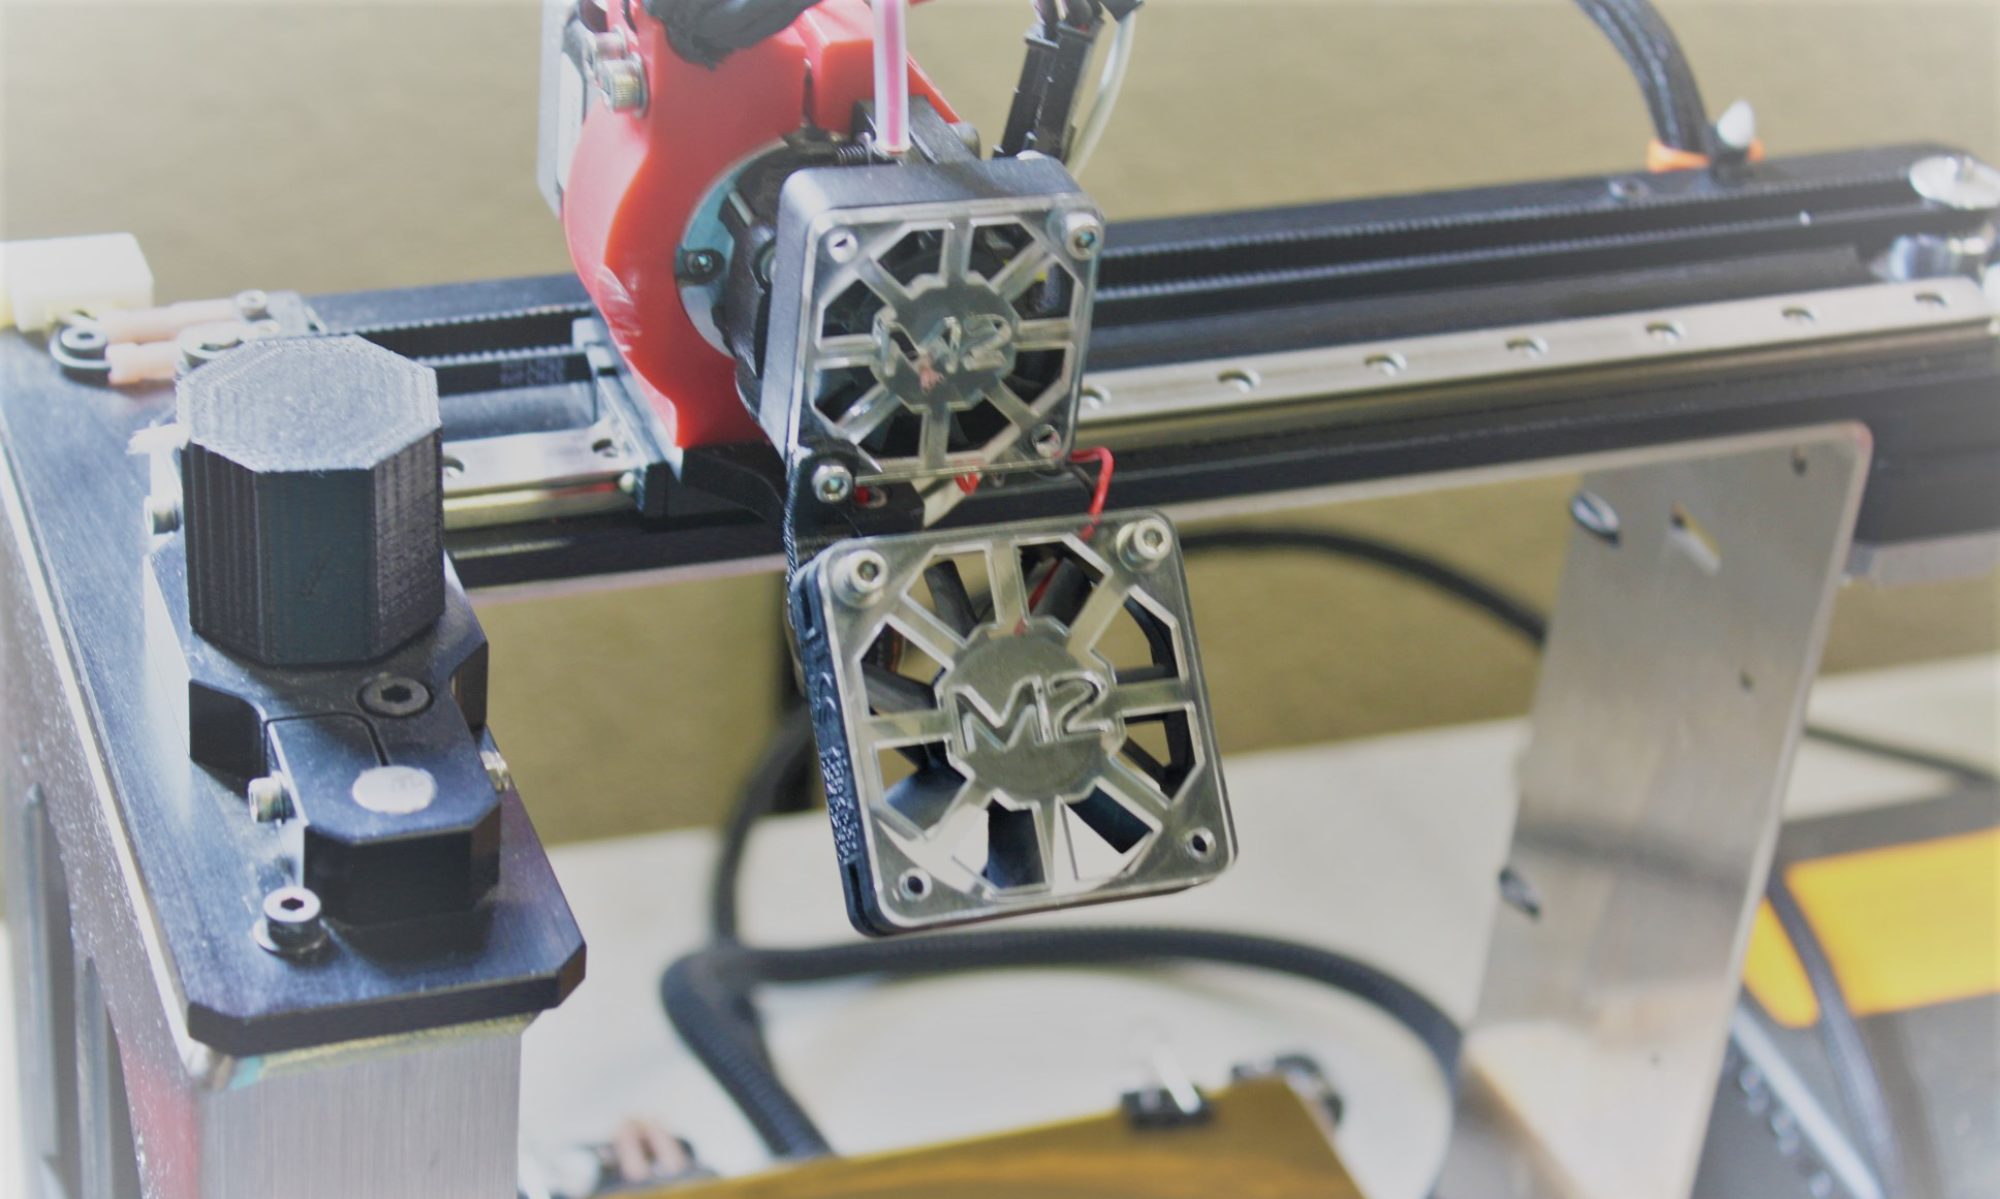
I wanted the wheels to snap on, similar to the way the wheels on the actual toy roller attach.  These parts were all printed on my MakerGear M2 with a few exceptions including the barrels, which are brass rod and tube cut to length and soldered together, the hingepin and springs in the base joint, and the screws.

This model is also available on my Shapeways shop:

https://www.shapeways.com/product/T4BCN3MB2/first-roller-in-transformers-cartoon-series?optionId=58576263

If you order directly from me, you get parts printed on my MakerGear M2, which will be of lower surface finish quality than what you would get from Shapeways.  They come raw from the machine and it is up to you to sand and paint them to finish.   I also include the bits of hardware to complete the model.

If you order from Shapeways, you get the parts in whatever material and finish you order them in and it is up to you to source the remaining bits.